
We have included the VoiceApp solution to be a launching point to easily create a new Voice Elements application. It is designed to be built into a Windows-based interactive program or a Windows system service.
Your First Project in Visual Studio
• This project can load as a Windows System Service
• Contains a SKELETON project that you can start all your production applications with
• Choose C# or VB.NET
Now that you have tried out a few of the Sample Applications from the Voice Elements Demo, you are ready to start your first project.
Download C#: Voice Elements Skeleton Project (VS2005 – C#)
Download VB.NET: Voice Elements Skeleton Project (VS2095 – VB.NET)
Unzip the project into a folder and open the VE solution.
Skeleton Project Modules
There are six modules in the ‘VE’ Solution.
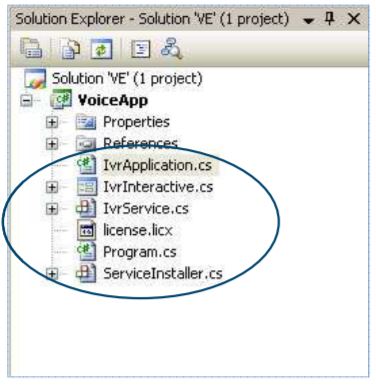
Starting from the top of the list, they are:
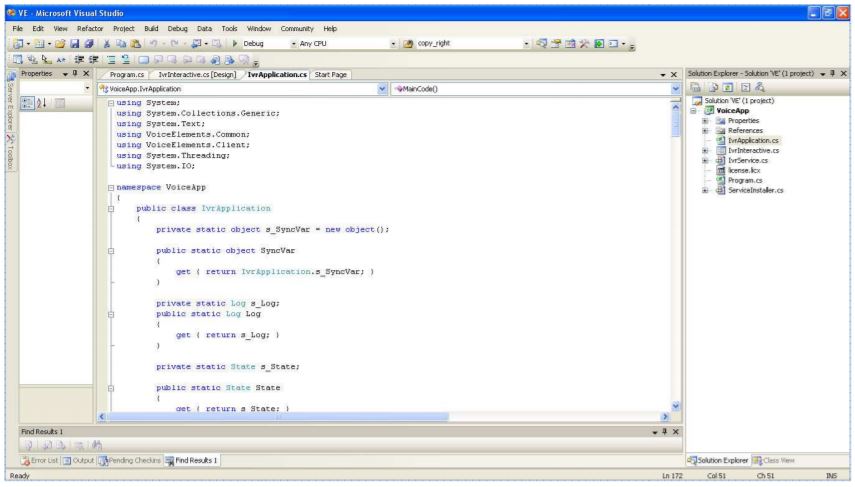
IvrApplication.cs
IvrApplication.cs is the control application to set up Voice Elements.
IvrInteractive.cs
The IvrInteractive.cs module is the code to run an interactive form.
IvrService.cs
IvrService.cs is the code that enables the solution to be installed as a Windows system service.
License.licx
The license.licx module is no longer required.
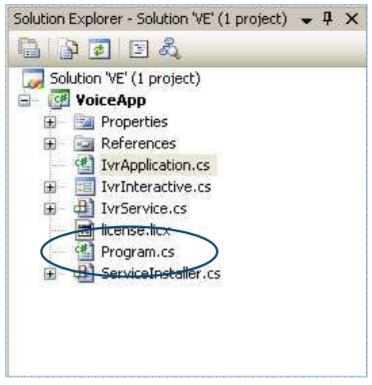
Program.cs
This module starts the program and decides whether you are interactive or running as a service.
ServiceInstaller.cs
The ServiceInstaller.cs is the code for installing as a service.
Rebuild Solution
Next, try to “Rebuild Solution” to make sure that it builds.
Settings
To go to the main code to view and edit the ‘VE’ Solution, open the Ivr Application.cs module. There are a few settings at this point that you should define.
First, set the host address (or IP address) of your Voice Elements server. To do this, scroll approximately halfway down to the code where you see the following comments:
// UPDATE YOUR SERVER ADDRESS HERE
System.Net.IPAddress [] ips =
System.Net.Dns.GetHostAddresses("bank.voicelements.com");

if (ips == null || ips.Length == 0) threw new Exception("Error: Could not resolve Telephony Server specified!");

string sIpaddress = @"gtcp://" + ips[0].ToString() + ":54331";

Log.Write("Connecting to: {0}", sIpaddress_;
To do this, simply replace bank.voiceelements.com with your local IP Address. This would be the same IP address that you see inthe Voice Elements Sampler under Telephony Server.
Next, set your Username and Password.
// CHANGE YOUR USERNAME AND PASSWORD HERE
s_TelephonyServer = new TelephonyServer(sIPaddress, "username", "password");
Connecting
Lastly, try running or debugging the program to make sure it connects. Test dialing or receiving calls using MicroSIP.
Installing as a Service
To install the “VE’ Solution as a service, change the program.cs module so that you can set the service name and display name.
Next, find the InstallUtil in your C:\WINDOWS\Microsoft.NET\Framework\v2.0.50727 folder.
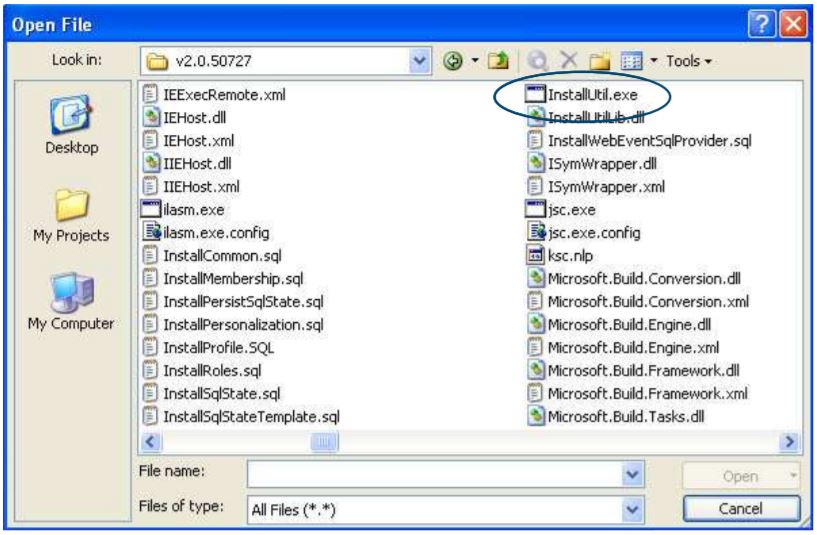
Once you have found InstallUtil.exe, copy it into the same folder as the compiled VoiceApp.exe — which should be located in the Debug folder on your local drive …\VE\VoiceApp\bin\Debug folder.
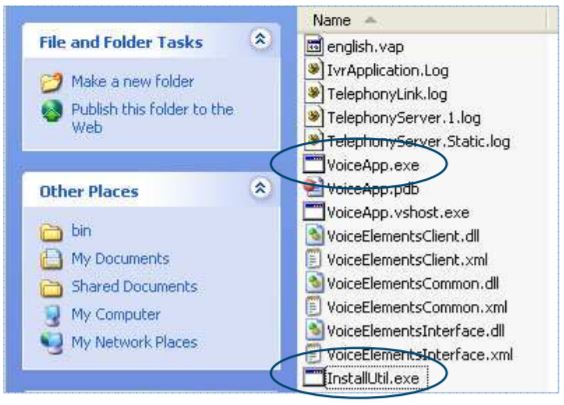
Next, open a command prompt, navigate to that folder and type: installutil voiceapp.exe
Then run from a command prompt:
Installutil VoiceApp.exe (or the name of your application if you renamed it.)
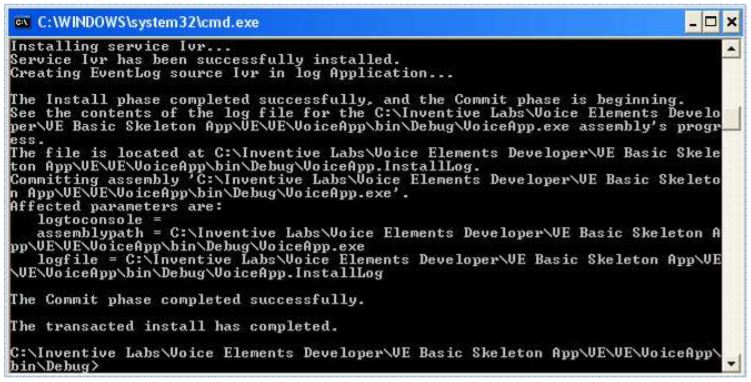
If the install is successful, as shown above, the program will install as a system service which you can then manage from the Service Manager.
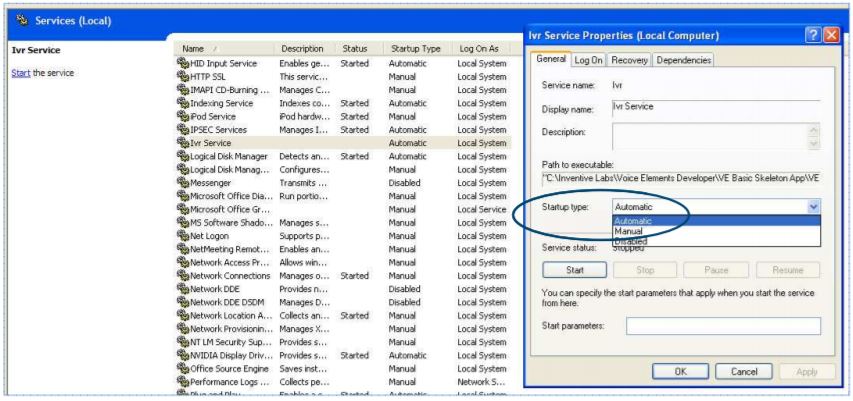
At this point, you can go into the Services Manager located in the Administrative Tools folder of your Control Panel, find your service (in this case Ivr Service) and set to Automatic if you want it to start automatically when the system reboots.
Now you are free to customize your application. In the code, you will find the following comments which alert you to where you can add your own outbound IVR logic.
Outbound IVR Logic
// At this point you are in control. You can farm out calls from a database,
// or you could code the IvrInteractive Form and create a GUI for handling your calls.
// Follow the OutboundIvr example from the Sampler on how to make an outbound class for new calls.
Inbound IVR Logic
// Handle the New Call Here
// You should actually create a class to handle this call. See the InboundIvr example from the Sampler application on how to do this.
// You can subscribe to get the disconnected event.
If you have any questions regarding any of the sample applications or the ‘VE’ solution application, please feel free to Contact Support.
For more code samples, see our Sample Solutions included with the Voice Elements Demo.